

Journeys
What: Journeys in Navigate360 Student helps students understand and complete essential steps towards their goals. Designed to extend beyond mere course planning, these Journeys empower students to focus on proactive, forward-thinking milestones crucial to their college experience.
Where: The page can be accessed via the Journeys icon in Navigate360 Student mobile and desktop.
Who: This feature is for current students.
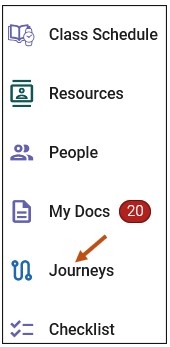
To access Journeys, select the Journeys link on your Navigate Student Desktop Site. You can find the Journeys link on the left-hand side of your navigation tool bar.
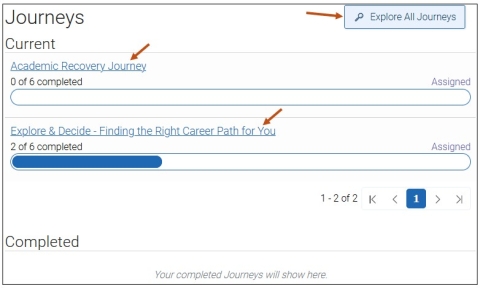
The main Journeys page for students displays any current Journeys the students has had assigned to them by staff or the system as well as any Journeys they added themselves. Beneath that is a section for completed Journeys. If a student wants to add a Journey, they can explore Journeys your school has created and published using the Explore All Journeys button.
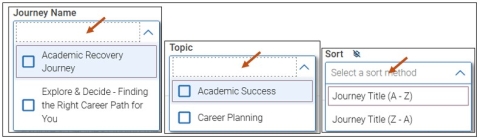
The Explore All Journeys page shows all published Journeys your school has. It will not include any staff-only Journeys. Students can filter based on the Journey Name or Topic.
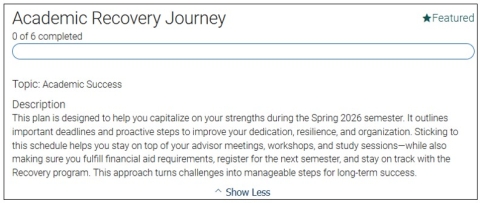
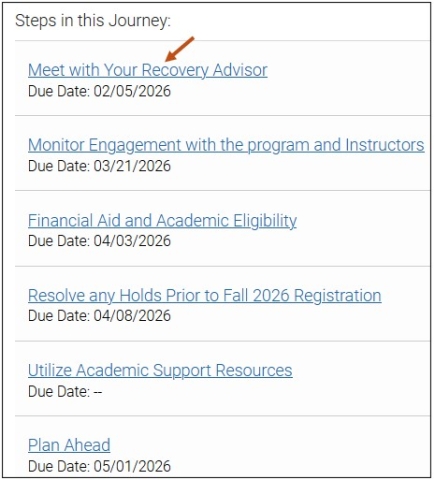
Students can select a Journey from the list, which opens the Journey, and displays a description of the Journey, the steps that comprise the Journey, and any specific step due dates.
Journey Description
Journey Steps
Selecting a Journey Step - Example
Meet with Your Recovery Advisor Journey Step
-
Due Date: 02/05/2026
-
Status: Overdue
-
Category: Step
-
Updated By: --
-
Updated On: --
-
Completed By: --
-
Completed On: --
Description
This meeting will help you understand your academic recovery plan and the courses you need for the upcoming semester, establish your academic targets for the semester, and set an overall GPA target with your Recovery Advisor.
-
Action:
- Confirm who your Academic Recovery Advisor is and schedule your first meeting by January 30, 2026.
- Enter your Term GPA Goal and Cumulative GPA Goal (must be between 2.0 and 4.0).
- Sign your Recovery contract.
- Download and activate required apps (i.e., Navigate360, CORQ, University email, D2L Brightspace).
- Register for 12-15 credits with the assistance of your Recovery Advisor.
- Drop/Add changes must be completed by Feb 5.
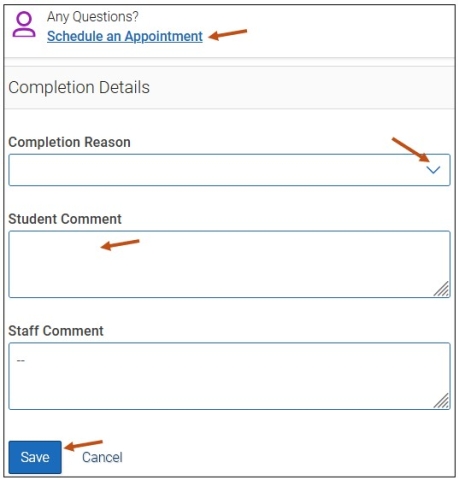
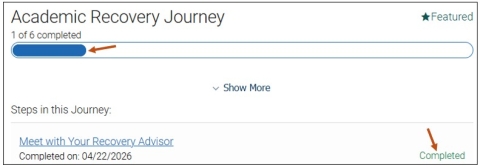
Once a student updates a step, either on the step page or via Checklist, the Journey itself will update, showing the step as completed and displaying progress on the progress bar.
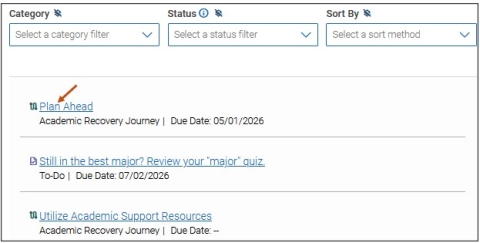
Once students have been assigned Journeys, the steps display on the Checklist page of the students Navigate Student Desktop Site and on their mobile app.
Students also receive Journey notifications. Times when students will receive notifications (if they have not changed their settings):
- When they are assigned a Journey
- When an advisor comments on a step
- If Steps reminders are configured for a particular Journey step
These appear in the Notifications Center and can also be sent as emails, text messages, or push notifications.
Accessing Your Journeys - Navigate Student Mobile App
To access your Journeys via your Navigate Student mobile app, please follow these steps:
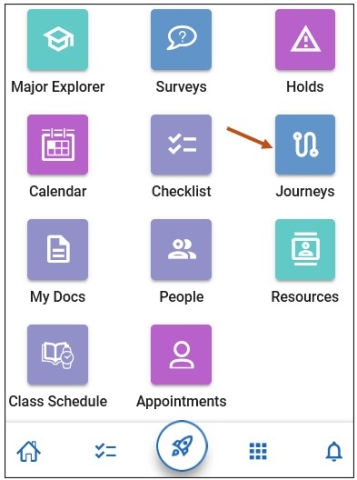
Step 1: From your Navigate mobile app, please select the Applications icon to access all your Navigate Student icons.

Step 2: Select the Journeys icon.
You may also access your Journeys via your Navigate Student mobile app, by selecting your Checklist icon from:
- Your Home screen.
- Your Checklist icon.
