How to schedule an Appointment
How to Schedule Appointments – Student Desktop Site
Below is an example of how you can schedule an appointment using your Navigate Student Desktop Site. The process to schedule an appointment using your Navigate Student mobile app is very similar.
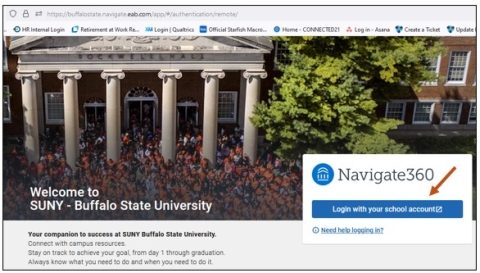
Step 1: Using Chrome or Firefox, go to the Navigate Student Desktop Site and sign in using your Single Sign On Buffalo State University Username and Network password credentials.
Step 2: Select the Login with your school account button.
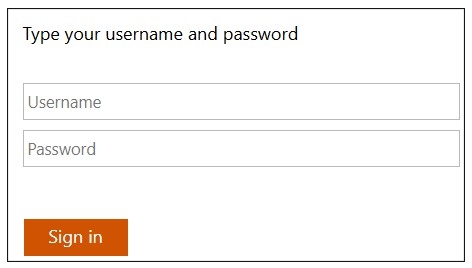
Step 3: Enter your Username and Network password and select the Sign in button.
- Your Username is the first part of your Buffalo State University email address. Everything before the @ symbol.
-
Your Network password is your password you use when you are signing on to a campus computer.
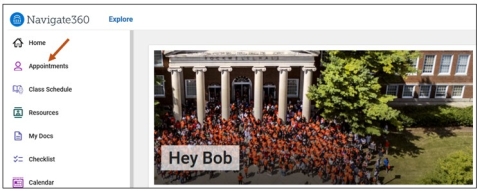
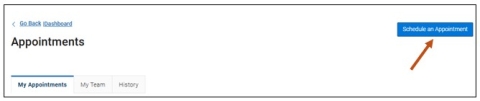
Step 4: Once you are signed in, you will be taken to your Navigate Student Home Page. To schedule an appointment, select the Appointments icon.
Step 5: After selecting the Appointments icon, please select the Schedule an Appointment button.
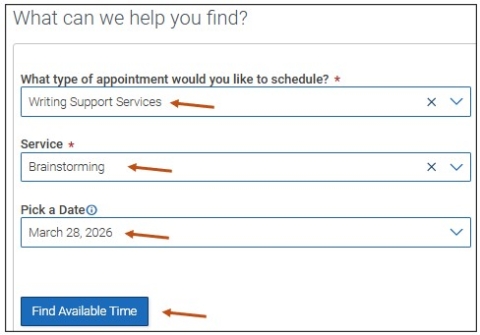
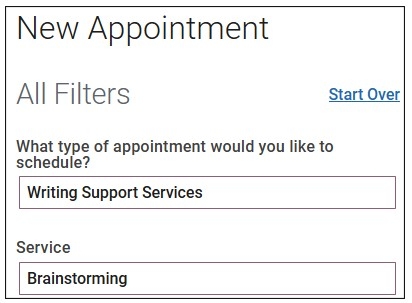
Step 6: After selecting the Schedule an Appointment button, you will be taken to the New Appointment, What can we help you find? screen. Please complete the following three fields by selecting from the drop-down menu.
- What type of appointment would you like to schedule?
- Service. The reason for your visit.
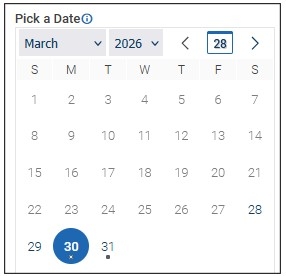
- Pick a Date. Then select the Find Available Time button.
In the example below, we have selected the following:
- Writing Support Services is the type of appointment that you would like to schedule.
- Brainstorming is the Service. The Service is the reason why you are scheduling an appointment.
- Pick a Date is the date you wish to schedule the appointment. Then select the Find Available Time button.
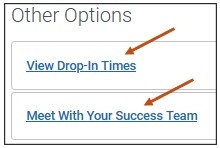
On the New Appointment, What can we help you find? screen, under Other Options, you may also select either View Drop-in Times or Meet With Your Success Team hyperlinks. If you are not interested in these Other Options, please proceed to Step 7.
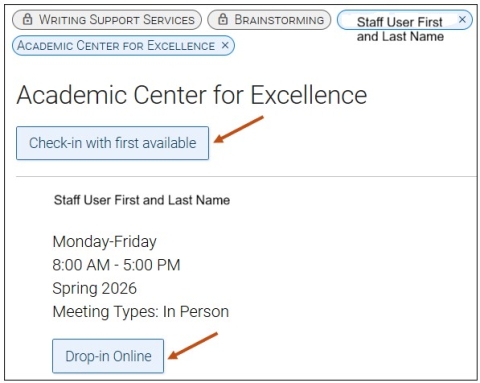
- View Drop-in Times hyperlink. Not all locations offer Drop-in availability. However, if Drop-in is available, please proceed and complete the fields by selecting from the drop-down menu. Once all steps are completed and if the Allow Students to Check in Virtually functionality is enabled, you will be able to:
- Select the Check-in with first available button or
- Select the Drop-in Online button and meet with the staff member you selected when you completed the View Drop-in Times prompts.
- You can Drop-in Online no matter what meeting type is set up in a staff's availability during their availability. The Drop-in Online button simply allows you to get onto a staff member's drop-in queue.
Please Note: If you choose either Drop-in Online with a specific staff member or Check-in with First Available, you will be checked in and see a success message with more information.
- Meet With Your Success Team hyperlink. If you select the Meet With Your Success Team hyperlink, you can schedule an appointment with your academic advisor by selecting the Schedule an Appointment button and following the prompts.
Please Note: If online scheduling is not available, please email your academic advisor directly to schedule an appointment. You may find your advisor's email by selecting the People icon in your Navigate account.
Step 7: Once the three fields are completed on the New Appointment, What can we help you find? screen and you select Find Available Time, you will continue with scheduling your appointment by reviewing the type of appointment you scheduled (example: Writing Support Services) and the Service (example: Brainstorming).
Step 8: If necessary, adjust your date. Dots indicate days with available times.
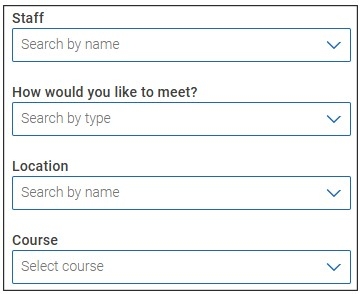
Step 9: If you wish, you can select from additional drop-down menu filters. For some appointments, you may be able to select:
- A specific staff member.
- How you would like to meet.
- Location.
- Course.
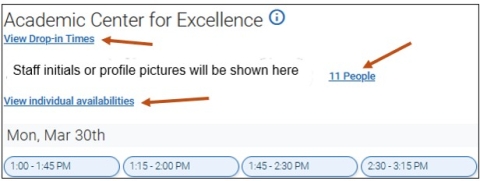
If available, you can select the following hyperlinks:
- View Drop-in Times hyperlink.
- # People hyperlink.
- View Individual Availabilities hyperlink.
- Selecting the # People hyperlink or the View Individual Availabilities hyperlink will open a list of staff members. If you select a staff member from the list, the appointment list shows only time slots that the staff member has available.
Step 10: Select your appointment date and time.

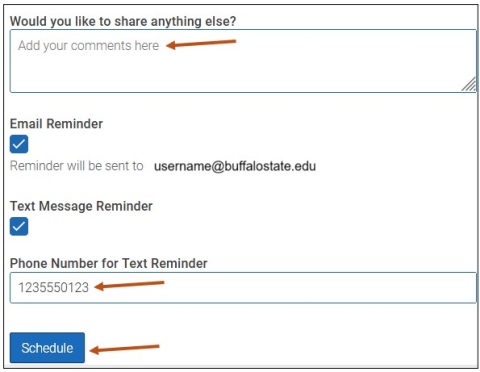
Step 11: After choosing your appointment date and time, you will then be taken to your Review Appointment Details and Confirm screen. Enter any additional information you would like us to know as well as your cell phone number with area code.
- Tell us a little bit about what is going on so we can better assist you.
- Select Email Reminder, or Text Message Reminder. You may also select both options.
- Email Reminder - Reminder will be sent to your Buffalo State University email address.
- Text Message Reminder - Reminder will be sent to your phone number listed. Enter your cell phone number with area code.
Step 12: Once all your information is completed, please select the Schedule button to complete the appointment scheduling process.
Scheduing an Appointment - Navigate Student Mobile App
To access your Appointments icon via your Navigate Student mobile app, please follow these steps:
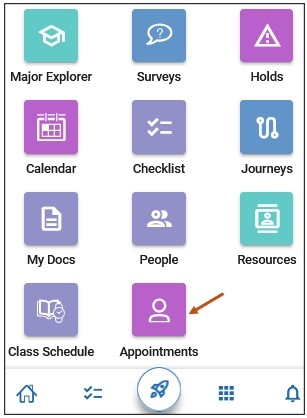
Step 1: From your Navigate mobile app, please select the Applications icon to access all your Navigate Student icons.

Step 2: Select the Appointments icon.
Step 3: Follow the prompts to continue scheduling your appointment.
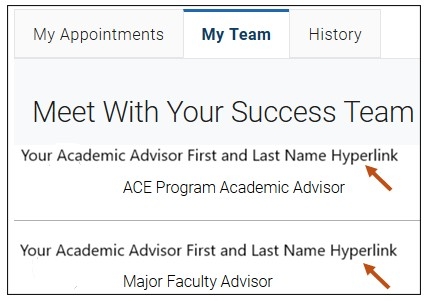
Your Upcoming Appointments, My Team, and History Tabs
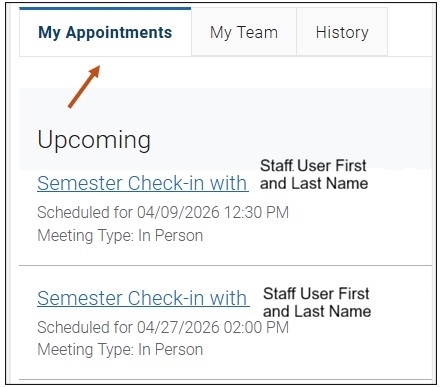
After selecting your Appointments icon, you may also view the following three tabs:
1. My Appointments - When you select the My Appointments tab, you will see a list of your upcoming appointments.
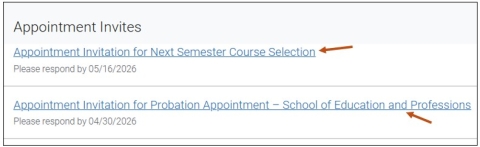
On your My Appointments tab, you may also notice Appointment Invites where you may be asked to schedule an appointment through a Campaign link. If any hyperlinks appear in this section, please select them and follow the prompts to schedule your appointment.
2. My Team - If your academic advisor has created Availability in Navigate, you may schedule an appointment with them by following these steps:
- Step 1: Select your advisor's name which is hyperlinked. This will open the New Appointment page.
- Step 2: Follow the prompts to schedule your appointment.
Please Note: If online scheduling is not available, please email your academic advisor directly to schedule an appointment. You may find your advisor's email by selecting the People icon in your Navigate account.
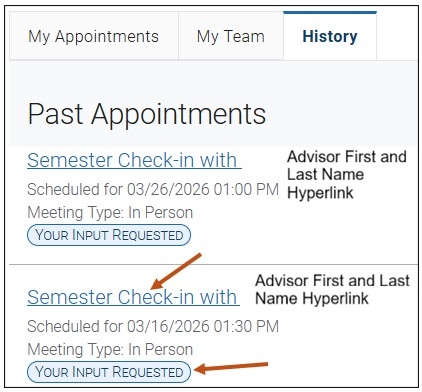
3. History - By selecting the History tab, you can view past appointments.
By selecting the Semester Check-in with Your Academic Advisor hyperlink, you will be able to view the appointment details for that previous appointment. You may also select the following button: YOUR INPUT REQUESTED. Please select YOUR INPUT REQUESTED button and complete a short survey by providing us with feedback on your recent appointment with your academic advisor.