

Accessing Content Templates
Content Templates give users the ability to create a library of reusable templates that can be saved or shared. This helps users who have frequent types of messages, such as appointment instructions, to send communications to recipients more quickly without any glitches or errors caused by copying and pasting a template from another source.
Public Templates
Public templates allow users to share templates. For example, we have created public templates for use in the area of academic advising. Below are the steps to access these public templates.
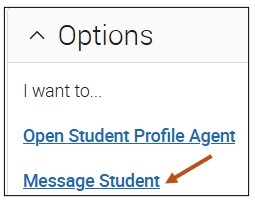
Step 1: Go to your Message Student link. You will find this under Options on the student's profile.
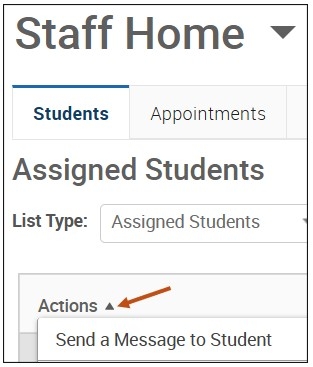
You may also go to your Staff Home, Students tab, select your student(s) from your Assigned Students list and from your Actions menu, select the Send a Message to Student option.
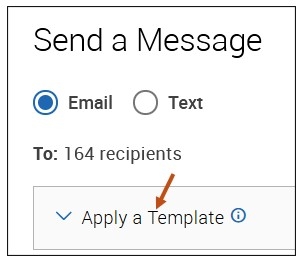
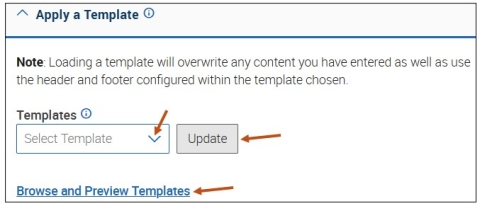
Step 2: Select Apply a Template.
- Loading a template may update the subject, header, message or footer of your email.
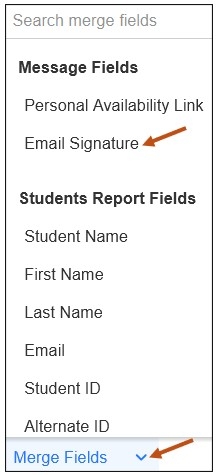
- You may customize the content after the template is loaded. For example, insert Merge Fields.
- The header and footer are inherited from the template and may not be edited.
- Preview the message to view the header and footer.
- The system default header and footer will be applied if no other template is selected.
Step 3: Select the down arrow to the right of Select Template and choose your template from the drop-down menu you wish to use. After choosing your template, select the Update button. You may also browse and preview templates by selecting the Browse and Preview Templates link.
Step 4: Once the Update button is selected, your message will appear.
-
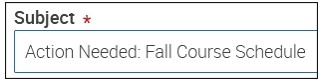
Subject
- Message
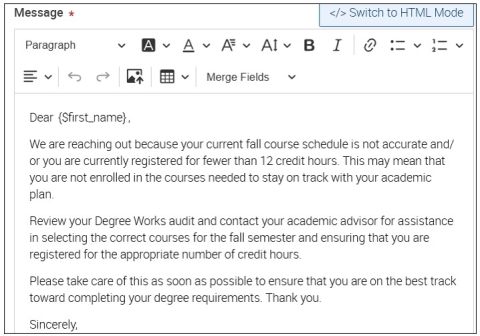
Step 4: You can do the following inside the Message window:
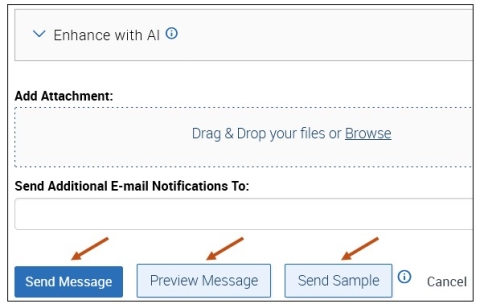
- Enhance with AI
- Add an Attachment
- Send Additional Email Notifications
- Send Message
- Preview Message
- Send Sample
The Send Sample button allows you to send a sample of this message to your email address to preview the message content. Please Note: Attachments are not included in samples.
Browsing and Previewing Content Templates
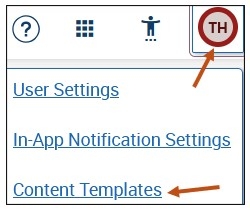
Besides browsing and previewing Content Templates by selecting the Browse and Preview Templates link as illustrated above, you can also browse and preview Content Templates by selecting the circular user icon located in the upper right-hand corner of your Navigate account. From the menu options, select the Content Templates link.
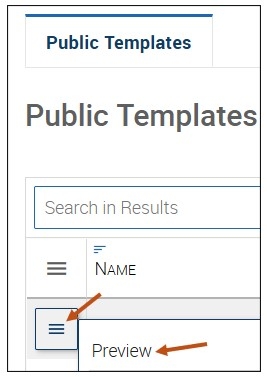
After selecting the Content Templates link, select the three lines next to the Content Template you wish to preview.
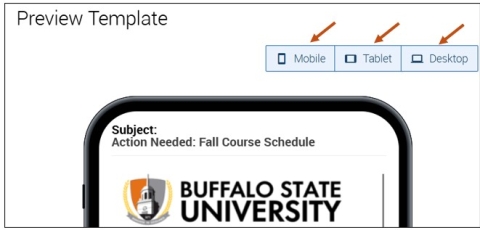
The Preview Template screen will appear. Select your Preview Template mode. You may select the following buttons:
- Mobile
- Tablet
- Desktop
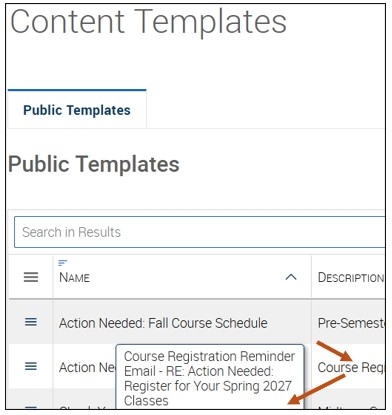
You may also view a short description of the Content Template by hovering over the description about the Content Template.
Creating an Email Signature
Create your own custom email signature, which you can apply to any email you send within Navigate.
Step 1: Select the circular user icon located in the upper right-hand corner of your Navigate account. From the menu options, select the User Settings link.
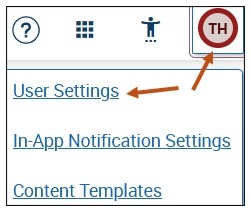
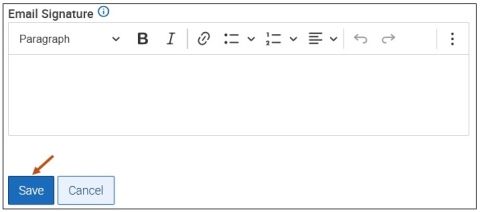
Step 2: Create your Email Signature.
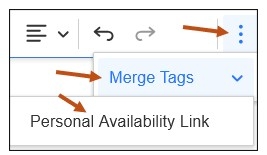
Insert Merge Tags, if desired.
Then select the Save button.